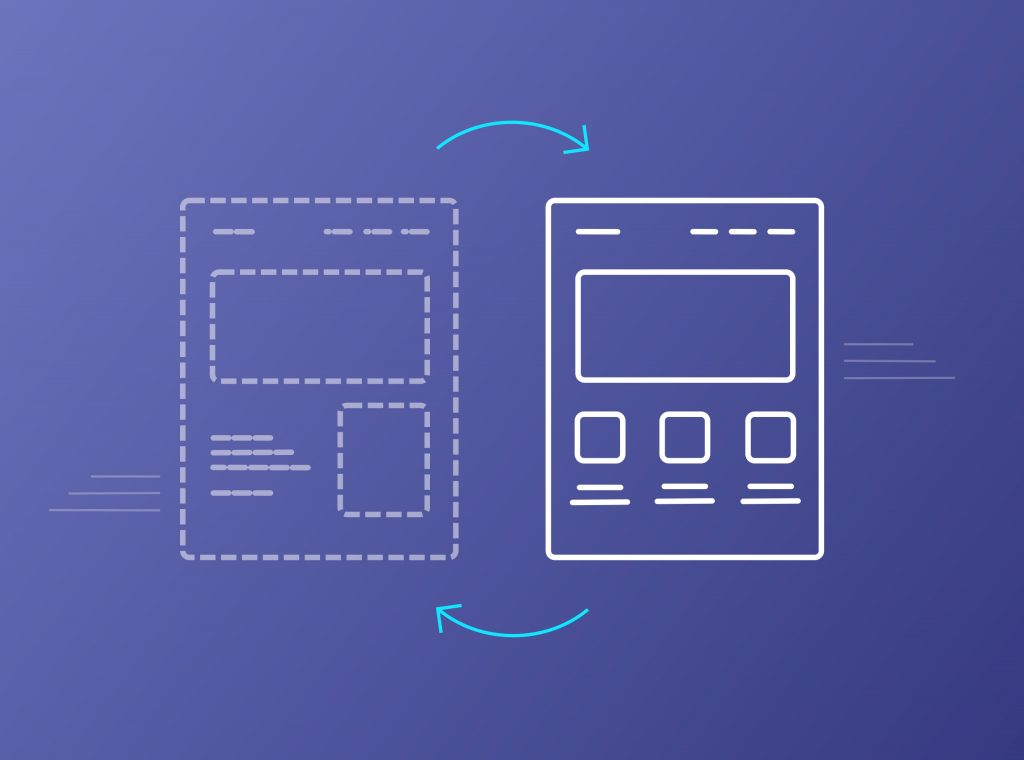
Switching themes is probably one of the most common procedures in the WordPress framework. It is very important to find a well-designed and multi-functional premium theme. The easiest way to find a theme according to your needs is to search in the most popular theme marketplace – Themeforest.
Before you start moving to the new one that you have chosen, spend some time reading the necessary steps that you need to follow so you won’t lose or destroy anything.
#1: Create a Backup or a Staging copy
The first and very essential step for a live website is to keep a backup before changing the theme. Backing up your database and installation files is the best prevention if something goes wrong. Therefore, you would recover your website to the latest version in case it corrupts or the new theme doesn’t work as you expected.
You can easily create a backup with a plugin like UpdraftPlus WordPress Backup Plugin. Otherwise, you can back up manually by saving your WordPress folder and WordPress database. You can achieve this via cPanel or FTP. Another way is if your hosting provider offers this possibility by creating automatic, frequent backups.
An alternative solution from backup is to create a staging copy of your website. This means that there would be a clone of your website that you can do and test any changes that you need without the risk of losing your project. You can manage this via hosting, plugin or local server too.
#2: Save custom code snippets
You will get the same website content when you install and activate the new theme. However, if you’re using any custom code in child theme/widgets/contact forms or tracking code, you need to save them too. So, you can ensure that you will keep these implementations with the new theme without the risk of creating them from the start.
#3: Move to Maintenance Mode
The following valuable step you need if your website is live is moving to maintenance mode. Whenever you make major changes to your website, it is better to put it in maintenance mode. So the visitors won’t see a half-made website or errors. Only when you finish editing your site and you’ve test the theme you should turn it off.
#4: Install theme and plugins
Now it’s time to install the new theme and all the plugins. Necessary plugins are all theme-required plugins, and every plugin you used with the previous theme or want to add from now on. You will find this option under Appearance > Themes in your panel.
Alternatively, you can install the theme manually via FTP.
Now you can activate themes and plugins to move to the testing procedure of switching themes in WordPress.
#5: Test Website
The best way to test your website is through a staging site. It is the safest way to make any modifications needed in the installation without any cost. You can clone your website via your host, localhost, or a plugin. Many hosting providers offer an easy staging process, the simplest and best way to test a website everywhere. Testing a website locally is also a useful solution but contains the limitation of not being able to test it on all devices.
The alternative solution is to test the new theme on your current website. If the results are not the expected, you can always use the backup. Although this could need more time, it is also a good and safe way.
What you need to check when you test your website is:
- Theme required server settings. You should see if your server meets the theme-recommended server settings and change what is needed.
- Code errors. You can see code errors by enabling the debug mode in your WordPress installation or through the Developer Tools – Console of your browser.
- Plugins. You must ensure that all the needed plugins for your website won’t have any compatibility issues with the new theme.
- Custom post types and formats. Content and post format check to verify that everything looks as you expected.
- Menus. Menus locations can differ in a new theme so make sure they will be defined correctly.
- Widgets. Don’t forget to see how your widgets look in footers or sidebars. Also, add any custom code you’re using with the old theme.
- Image sizes. Theme and Featured image sizes may be different in themes. Take a look so you won’t be surprised later.
- Responsiveness. Nowadays, every website needs to adapt and run flawlessly on all devices. So, don’t miss out on checking in mobile devices, tablets, desktops and custom resolutions.
- Performance & SEO. Last, an important step for your website’s reputation and reliability is testing its performance and the SEO level.
Conclusion
Since you’ve switched themes and made all the necessary tests, it is time to make it live. You need to activate the theme in your live installation and disable maintenance mode, and here you are! Wasn’t that difficult, right? Just remember to follow all steps so you won’t come up with any unwanted problems.
Picking the right theme is always a serious decision when you need to switch themes in WordPress. You need to find the best for your project. It is easy to use and extend and offers modern and impressive design and functionality. Movedo is a premium multi-purpose theme. It provides great flexibility, clean code and fine design features. It includes many possibilities simultaneously with ease of use so you can create your website quickly from scratch!